In this guide:
- About Moodle
- Communicating through Announcements
- Using Groups for Announcements
- Adding a Quickmail block
About Moodle
Moodle has 2 primary tools for communicating with students – Announcements and Quickmail.
Announcements are ideal for updating students with important information about coursework, events, and changes to the schedule. Messages posted through the announcements tool are also sent to students’ emails making it invaluable when you need to contact your entire class.
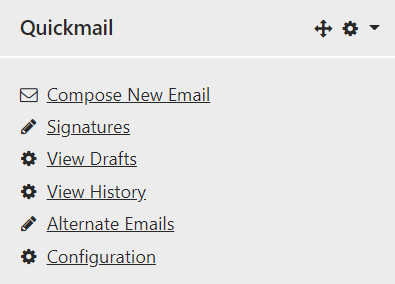
Quickmail is a useful tool for adhoc communication with individuals and groups of students. Quickmail’s enables you to select specific recipients; however, unlike the Announcements tool, there is no record of your message for staff and students to revisit on Moodle. For this reason, we recommend using the announcements tool for the majority of messages.
Communicating through Announcements
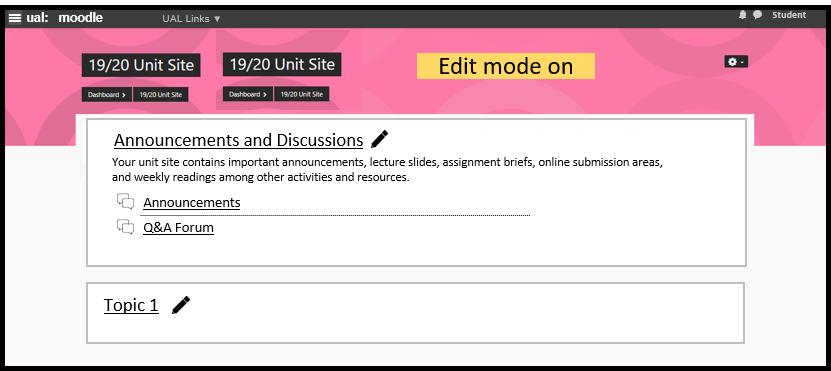
- Login to Moodle and go to the relevant Moodle site.
- Open the Announcements area.
- Select the target Group if available or required.
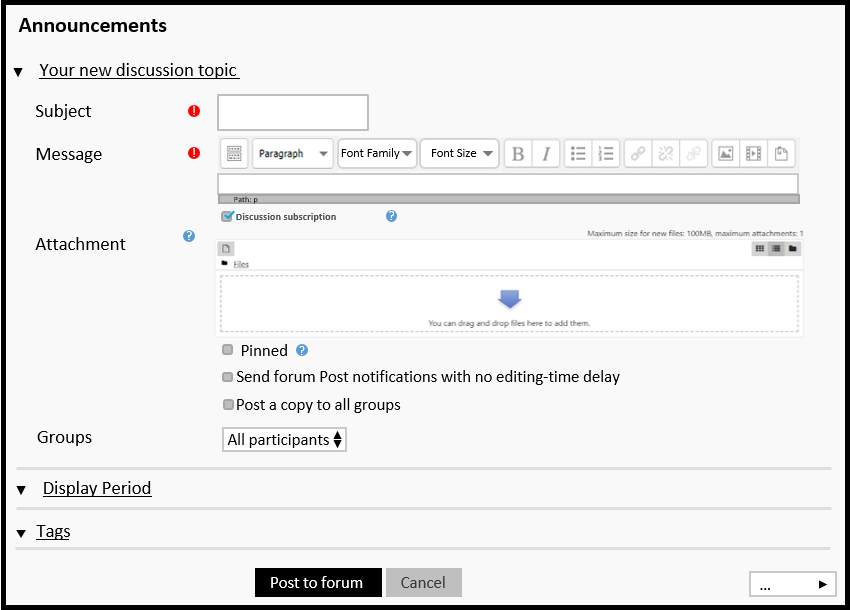
- Select Add new topic.
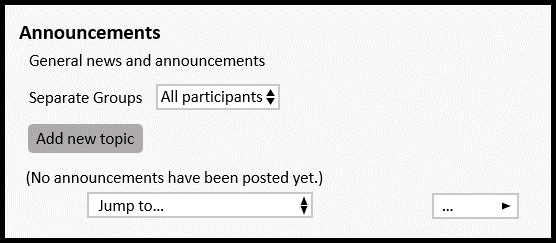
- Add a title in the Subject then the body of the Message before Posting to forum. Select ‘Pinned’ if you want the message to remain at the top of the announcements area. If you select Post a copy to all groups, you will send 1 copy of the message for every group to every enrolled tutor.
Using Groups for Announcements
Groups can be used to:
- Selectively reveal content and activities to specific groups.
- Control who receives announcements and Quickmail notifications.
- Create Moodle chatrooms for specific groups of students.
How to create a group:
- Go to Moodle, login and go to the relevant Moodle site.
- Select the Settings Icon.
- Choose More.
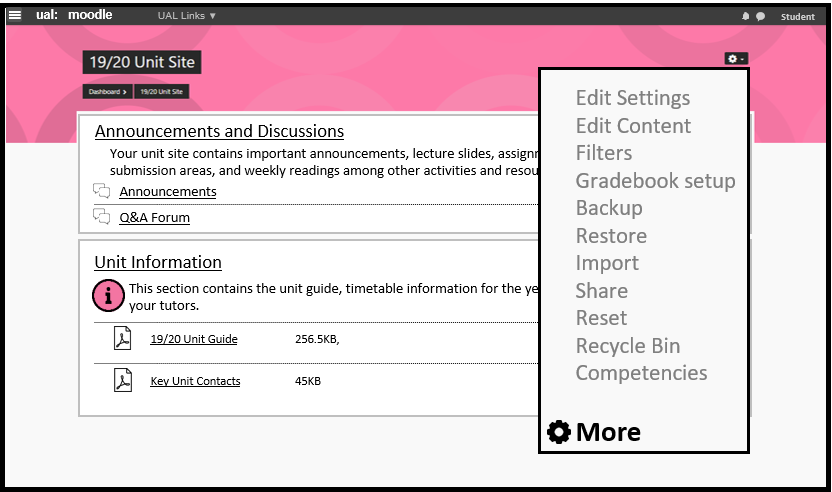
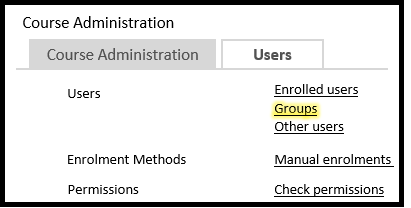
- Select the Users tab.
- Choose Groups.
- Select Create Groups
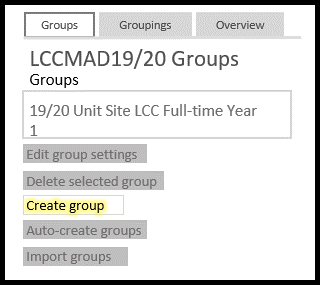
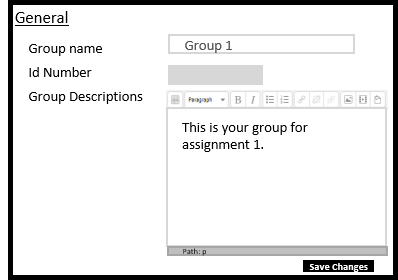
- Add a Group Name and brief description.
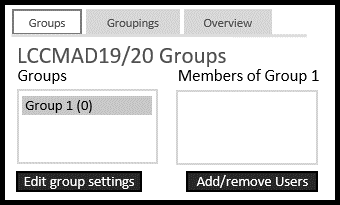
- Select the group name.
- Select Add/remove Users.
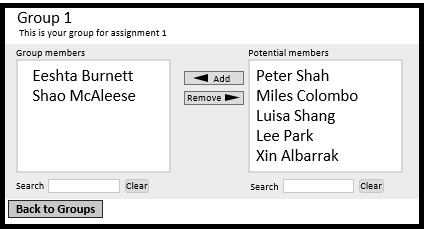
- Add users from the potential members column to the group members column using the Add button.
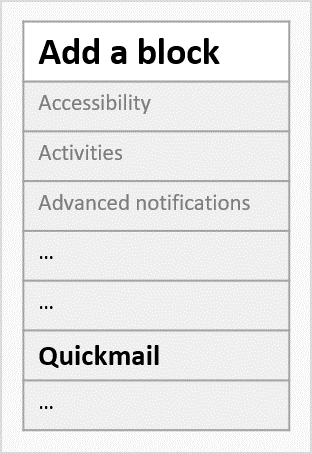
Adding a Quickmail block
- Go to Moodle, login and go to the relevant Moodle site.
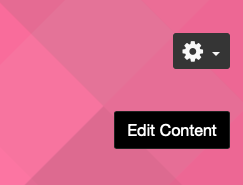
- Select Edit Content.
- Open the Navigation Panel.
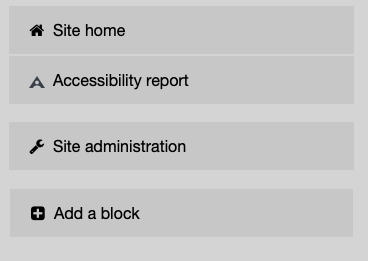
- Select Add a block.
- Select Quickmail. A Quickmail block will appear, usually on the right sidebar.