In this guide, we share advice on best practices for creating both video and screen recordings.
Section A: For both video and screen recording
Section B: For video recording
Section C: For screen/presentation sides recording
Section A: For both video and screen recording
You
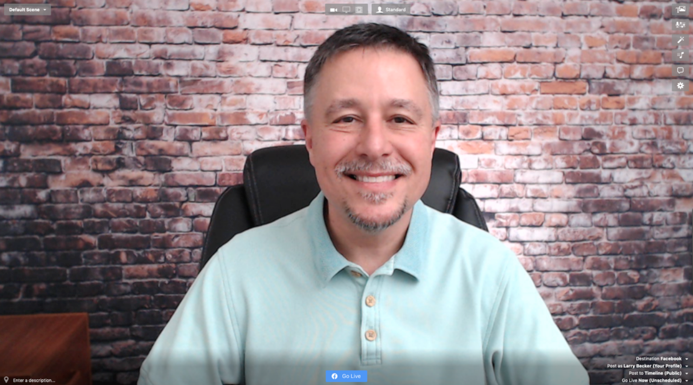
You are an important part of your recordings. If your students can see you, they will engage more with the video. You can use your facial expressions to set the tone and mood of the recording. However, don’t overdo it, especially if there are other on-screen actions, consider only showing yourself at the beginning and the end of your recordings.
What you will say
You might want to write a script, but this could sound unnatural. Instead, make notes about key points and go from there. Practise what you will say a couple of times as this will help you memorise and speak more naturally when you are finally ready to record.
Accessibility reminder: Make sure your video recording also makes sense to a user who is only accessing the audio, be mindful of the words you use. So, instead of using “Click on this edit button on the top left corner”, use “Choose this edit option on the top left corner.”.
Also, make sure your language is as inclusive as possible, so instead of saying “You will see (something)…”, use “(Something) will appears…”. Not everyone can see perfectly.
Be mindful of your surroundings
Kids and furry friends are welcome to our video conferences, the same doesn’t quite apply when recording teaching materials. So, find a quiet space where you won’t be disturbed. Noises to be aware of include TV, washing machine and road work outside.

Audio quality
Poor audio quality is not pleasant to listen to. A built-in microphone from your device should be acceptable. However, if you have any external microphone either from your headset or a standalone one, the audio quality will be much better. Always record a test clip to check for the quality.
Speak clearly and slowly
You should speak more slowly than you would normally do in a conversation, enunciate your words clearly, and allow short pauses here and there. Pausing will allow students to process the material and catch up on any notes they may be taking.
Introduce what you will cover
Give a brief outline at the beginning to let your students know what to expect in the recording.
Keep on topic
Don’t deviate from your intended outline, if you need to cover more than what you have planned to, make a separate recording. A series of short recordings are better than a long one
Recap with a summary
Give a brief summary at the end to remind your students of the key points they should have learned.
Avoid dead air or other obvious moments
Don’t start speaking as soon as you start recording, leave a second of silence, do the same at the end before you stop the recording. It will make your recordings feel more complete. You could consider trimming out any dead air that is longer than a second or two as it can make your recordings feel disjointed. You should also edit out any obvious moments, for example, when you are switching between platforms or filling out a form.
Section B: For video recording
Your clothes
Wear clothes you feel comfortable in, as you will feel more relaxed in front of a camera. Make sure there is nothing sensitive or offensive on your clothes.
Your background
Try and place yourself in front of a natural background such as a plain wall with soft colours. However, you can also include some décor, such as paintings or photographs on the wall or some house plants to make your recordings more personable. Don’t include anything that could be distracting or cause distress.
Lighting
A good light source makes better quality recordings. Try to have the light source in front of you and avoid having bright light behind or on the side of you. You may have windows to provide natural and direct sunlight. If you find the light is too bright, try diffusing the light with some semi-transparent materials. You may already have sheer curtains or may want to use a large sheet of tracing paper which is both affordable and effective.
If you already have some portable lights readily available, you could use them too. Check out this DIY studio lighting hack.
Positioning your camera
Whether you are sitting or standing and using a webcam, mobile device or other camera, position your camera at or slightly above eye level. Avoid having it pointing down from your forehead or pointing up from your chin. Keeping the angle at eye level will feel friendlier to your students.
Framing your video
You should never fill the entire screen with your face, it could be quite off putting. Instead, you should aim to include your entire shoulders and face, leaving some space on either side of you and above you.
You should also leave some space at the bottom of the frame to allow for closed caption to be added later, wearing a plain top should do the trick.
Engagement
While recording, avoid looking at your screen and instead look at your webcam to ‘make eye contact’ with your students. Remember to connect with them just as you would in a classroom.
Section C: For screen/presentation sides recording
Framing
Keep some empty or plain space at the bottom of the frame when designing your slideshows or other graphics. This allows space for closed captions.
Accessibility reminder: Be sure to use high contrast colours in your design for maximum visibility.
Be mindful of the recording screen resolution
Good quality full HD viewing for most is 1920 x 1080px, Apps such as Panopto will allow you to choose the recording quality and apps such as QuickTime will capture the native resolution of your screen.
Only record the screen or tab you need
Before you begin recording, close or minimise all irrelevant applications and tabs. Only show the application or tab you are recording to help eliminate distractions
Scroll wisely
Scrolling up and down a page is sometimes unavoidable when making a screen recording, remember to scroll slowly and only do so when necessary. You don’t want to disorientate your students.
Zoom in and out
Some of tour students might watch your recordings from a big screen, but may be using smaller screens like tablets or mobile phones., Zooming in and out wisely when recording will help students using smaller screens or who have differing visual needs. Zoom out to show the overall context and zoom in to certain parts to emphasize details or stress importance.
Use keyboard shortcuts
Using keyboard shortcuts to switch between tabs, zoom in & out and other things you plan to do during your recordings will help limit mouse movements. Seeing a mouse cursor moving too much can be very distracting.
We strongly recommend recording a test clip before recording. You don’t want to spend time recording what you think is your final take, only to realise the audio isn’t working correctly or the lighting isn’t good enough.