Collaborate ULTRA can also be used to host tutorials. To ensure your tutorials remain private and secure please follow this guidance.
Create a Collaborate tutorial room
Create a new Collaborate room with a name that denoting its purpose (i.e. ‘Tutorial Meeting Room’).

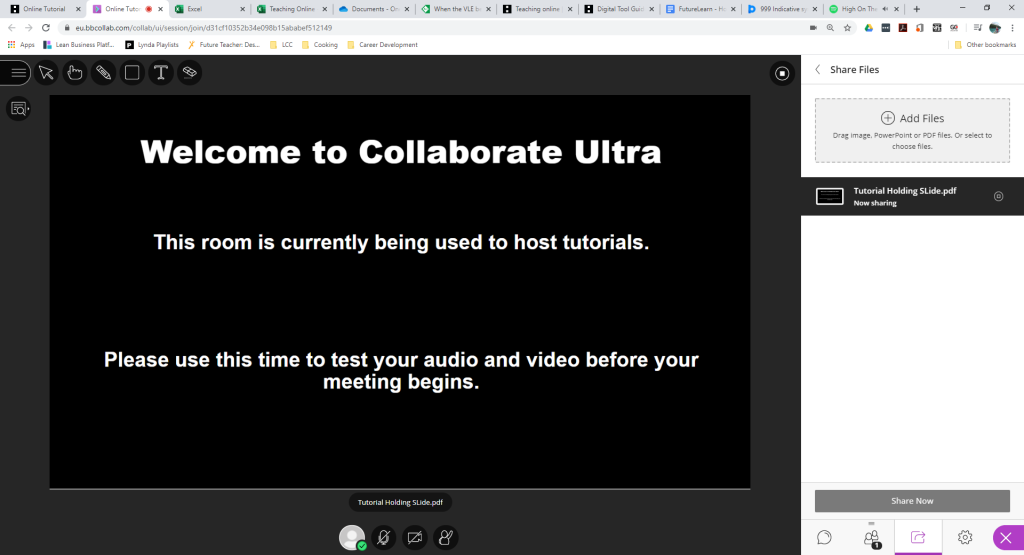
Use a holding slide
Consider creating and uploading a holding slide that informs students who arrive early for their tutorial that they are in the right place. You might want to include details such as the course title, tutorial instructions and a schedule.
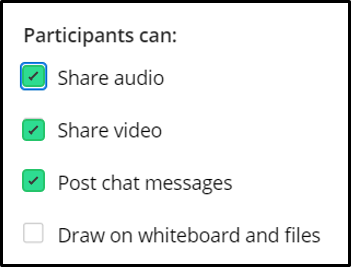
Configure session settings
Choose whether to release access to audio, video, and chat from the Settings Menu in the Collaborate Panel. We recommend all releasing all three for tutorials.
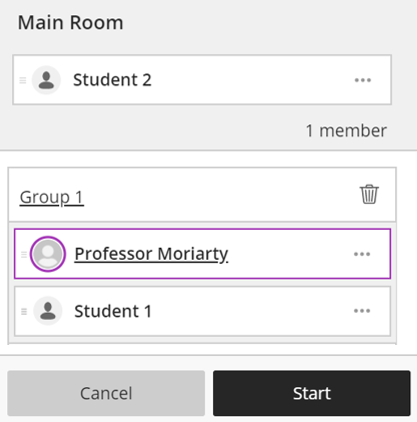
Activate breakout groups
When your first tutorial student arrives open the Collaborate Panel, select the Share Content menu, select Breakout Groups and move yourself and the student into Group 1 then select Start.
This will ensure the conversation remains private while allowing you to see any new students who enter the Main room and they will see the Holding Slide.
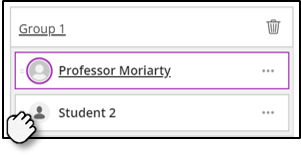
Moving between tutorial meetings
First, inform the student when the tutorial meeting is over and give them the choice to leave Collaborate altogether or return to the Main Room.
Next, return to the Breakout Groups tool in the Share Content menu. Remove the previous student from Group 1 before dragging-and-dropping the next student into Group 1.
Repeat this process for each scheduled tutorial session.