In this guide:
About Collaborate Ultra
Collaborate ULTRA is a real time video conferencing tool used for online classes and tutorials. It enables tutors to run presentations, organize breakout groups, upload content, and facilitate live, online lessons.
We recommend that live sessions should run no longer than 60-75 minutes. Pre-recorded lectures should aim to be approximately 20 minutes.
Creating a Collaborate ULTRA Session
Watch our video Setting up Collaborate (Vimeo) or follow these steps:
- Use the Chrome browser on a desktop or laptop
We recommend accessing Collaborate Ultra through a laptop or desktop computer using the Google Chrome browser. Other browsers may be less reliable or have access to fewer Collaborate features like sharing computer audio.
- Select a Moodle site to host your Collaborate session
Log into Moodle and select the site where you will create and host Collaborate sessions.
- Set up a Collaborate ULTRA activity
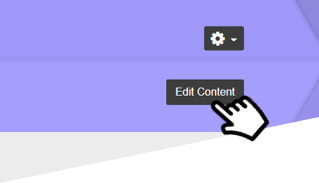
Select ‘Edit Content’ within the site banner to enable edit mode.
Go to an appropriate section or topic area and select ‘Add an Activity or Resource’. Find and select Collaborate ULTRA then select add.

- Configure the Collaborate ULTRA session settings
Give the session a name and include a description. For example, your description might include the date and time of the session as well as requirements like access to a headset and Google Chrome.
- Select the opening start date, time, and duration. Consider leaving it open indefinitely if you plan to reuse the room.
- Select the option ‘Allow Collaborate ULTRA Guest Access’ and set the guest role to ‘Participant.’ If you plan on inviting an external speaker to your session set the guest role to ‘Presenter.’
- Select ‘Save and return to course page.’ The session should now appear as an activity on your Moodle site.

If you need to edit any of the settings again, select on the ‘Edit’ button and select ‘Edit Settings’.
- Enter and prepare the session
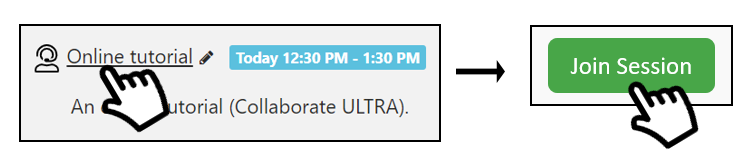
Select the activity then select Join Session to enter the session up to 15 minutes early.
- Configure your microphone and camera
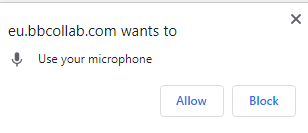
The Collaborate ULTRA session will open in a new tab. If this is your first time using Collaborate, give permission for your browser to access your microphone and camera.
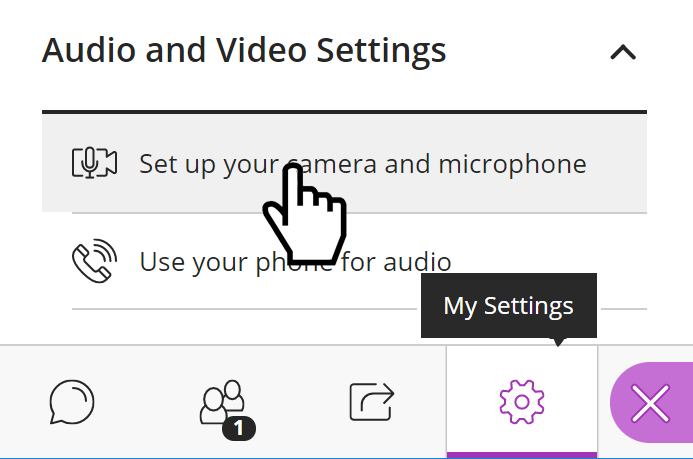
If Collaborate does not identify your microphone or camera, open the Collaborate Panel, or the purple tab

Select the ‘My Settings’ tab and select ‘Set up your camera and microphone.’
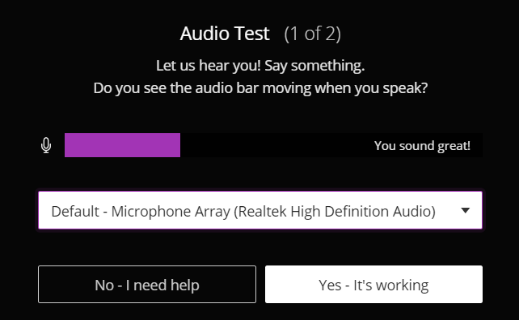
Choose your microphone from the drop-down list. Test your microphone works and confirm by selecting ‘Yes-It’s working.’
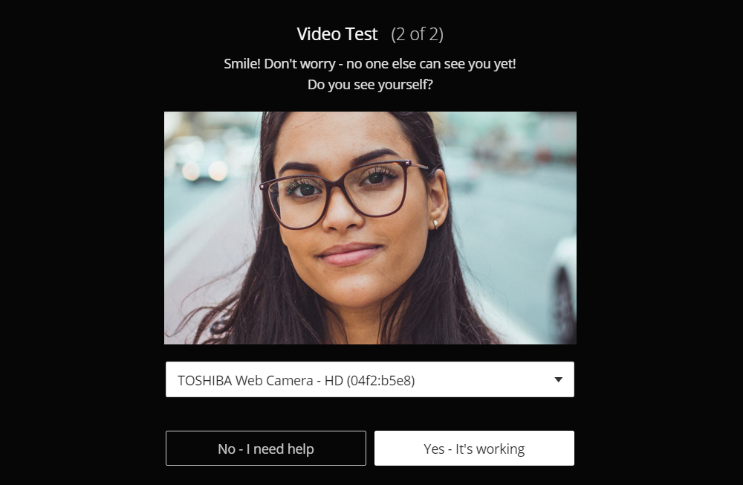
Next, you will be prompted to test your camera is working. Confirm this by selecting Yes-It’s working.
Your microphone and webcam are not shared yet. Select the microphone and camera icons when you are ready to share.

- Configure the session settings for attendees
Return to the ‘My Settings’ tab of the Collaborate panel.
Select which options you would like your participants to have.
