In this guide:
- Introduction
- Adding Sharing Cart
- Copying to the Sharing Cart
- Copying from the Sharing Cart
- Making folders inside the Sharing Cart
Introduction
The Sharing Cart is a block for duplicating course items into a personal library and an easy way to move those Moodle resources and activities between multiple courses on your site. With just three clicks, the Sharing Cart copies and moves a single course item from one course to another. It copies without user data – similar to the “Import” function in Course Administration. User content in Forums, Wikis, Glossaries and Databases can optionally be included. In addition, items can be collected and saved on the Sharing Cart indefinitely, serving as a library of frequently used course items available for duplication. The Sharing Cart is viewable only by teachers, course creator and administrators.
Adding Sharing Cart
- Click on Edit mode top right
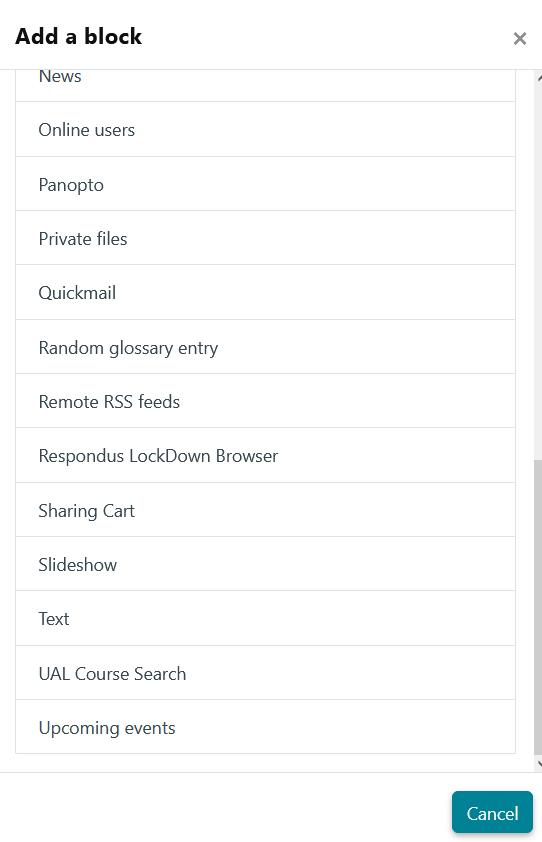
2. Add the Sharing Cart block from the “Add a Block” menu at the top right of the screen.
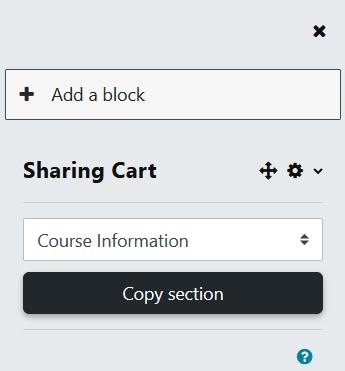
3. After adding the Sharing Cart block, you will notice the block stays “on” the next time you enter that course.
4. When you go to another course, add the Sharing Cart block to that new course.
5. Then you can see your Sharing Cart as you roam courses across a site.
6. Click the “X” icon to turn “off” the Sharing Cart, although the contents of the Sharing Cart will remain there when you turn it on again.
Copying to the Sharing Cart
- You will notice a small “Copy to Sharing Cart” icon which appears after each resource or activity in the centre column of a Moodle course.

2. Click on that icon to send a copy of that resource/activity into the Sharing Cart. User data will be removed, only the activity itself will be cloned.
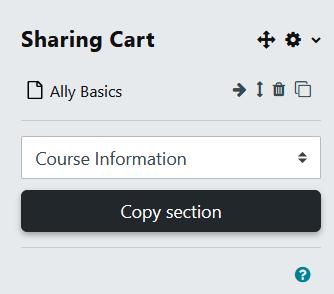
Copying from the Sharing Cart
- Click the “Copy to course” icon in Sharing Cart, then you will see many dotted boxes appear in the centre column.
2. The location you wish to place your item, and it will be copied there directly.

Making folders inside the Sharing Cart
- Click the “move” icon on a course content item and an input box will appear.
2. Input the name of the target folder there.


3. To move an item into a folder, click the “Move to folder” icon in the Sharing Cart, then a drop-down list appears, and select the target folder.
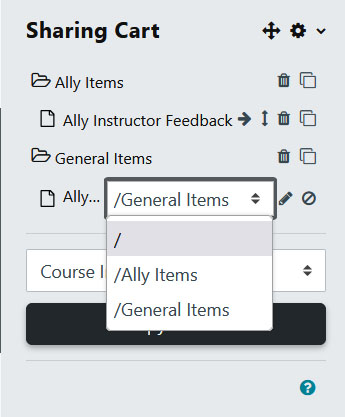
4. If you click the “Edit” button, you will replace the drop-down list with an input box.
