Introduction
A course format which displays course topics as “Tiles”, in a grid rather than as a list. When clicked, tile content is displayed under the tile with an animated transition. The layout adapts to different screen sizes and orientations. Within each tile, activities can also be set to display as “sub-tiles”. For each tile, the teacher can pick an icon from a predefined set or upload a background photo.
Set up
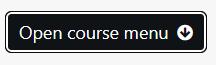
- Click Open course menu > Settings
2. Expand Course format

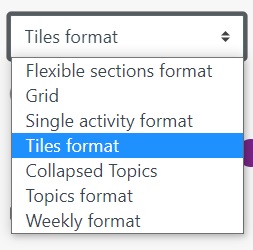
3. Select Tiles format from the dropdown the icon selected here will appear on all tiles in this course by default. Individual tiles can have a different icon selected, or a background photograph, using the different setting at the tile level.
4. Select a Colour for tiles will be applied to all the tiles

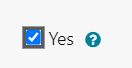
5. Select Yes for Use sub tiles for activities to show every activity as a sub tile, instead of as a list of activities down the page. This does not apply to labels which will not be shown as sub tiles so can be used as headings between tiles.
6. Select Use sub tiles in top section. If selected, sub tiles will be used in top section of course as well as within all tiles. Only available if using sub tiles in the course overall. This is as the sub tiles take up a lot of room at the very top of the course. It may be better to leave this unselected, so that any items in the top section are shown in standard list format instead.

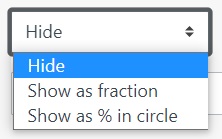
7. Select Progress on each tile. If selected, the user’s progress with activities will be shown in each tile, either as a fraction (e.g. ‘Progress 2/10’ meaning 2 out of 10 activities complete), or as a percentage in a circle. This can only be used if ‘Completion > Enable completion tracking‘ has been switched on. If there are no trackable activities within a given tile, indicator will not be shown for that tile.
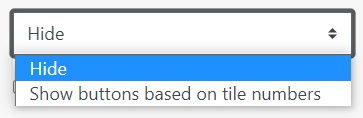
8. Select Filter bar (Outcomes unavailable). When selected, will automatically display an array of buttons before the tile screen in a course, which users can click to filter down tiles to certain ranges When ‘based on tile numbers’ is selected, a series of buttons will be displayed e.g. a button for tiles 1-4, a button for tiles 5-8 etc. When ‘based on course outcomes’ is selected, there will be one button per course outcome. Each tile can be assigned to a given outcome (and therefore to a given button) from that tile’s settings page.
9. Emphasise headings with coloured tab. Display a coloured tab to the left of the heading in the course whenever a heading style is selected in the text editor.

10. Click the Save and display button

Changing the icon
1. Click in the 3 dots to the right of the Section and select Edit tile
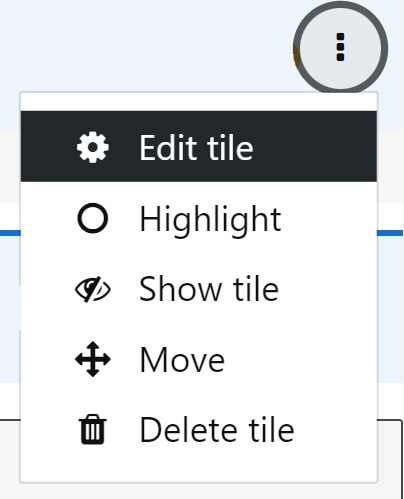
2. Click the Pick a new icon or background photo from Icon to display on this tile only. Item selected here will override, for this tile only, whatever tile icon has been set at the course level.
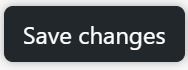
3. Click Save changes
Visual
