Introduction
What would I use a Quickmail for?
To allow tutors to email course participants by providing a link to a tool that has a checkbox list of all participants in the course, a mail composition text area and a field for attaching a file from the course files area.
An email will be sent to their standard email inbox. When multiple participants are selected, Quickmail sends an individual email to each one, so they will not see the email address of any other recipients
If your course has Moodle groups set up the Quickmail block allows you to select all participants in a particular group as well as individuals.
Adding Quickmail to your course
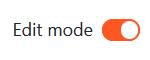
- Click Edit mode, top right of screen
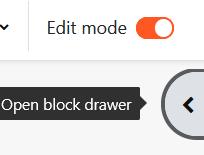
2. Open the block drawer
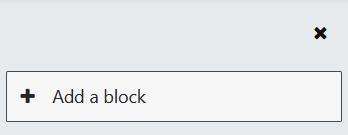
3. Click Add a block
4. Select Quickmail from the list

5. The block should be visible on the righthand side of the page
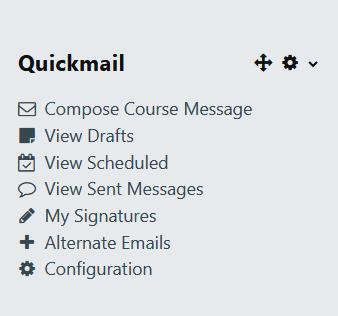
Compose Course Message
- Click Compose Course Message
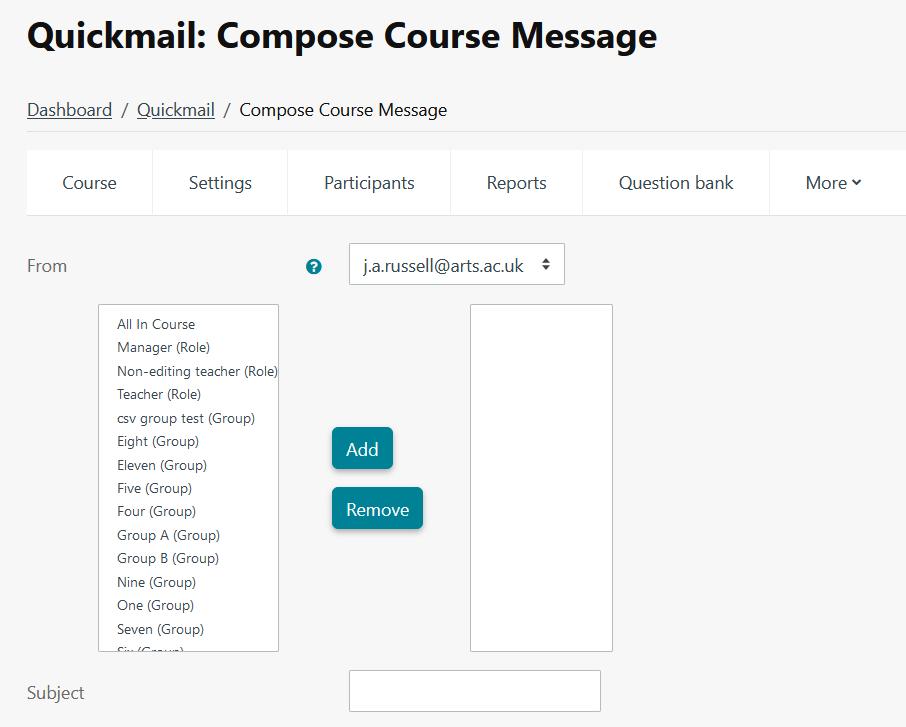
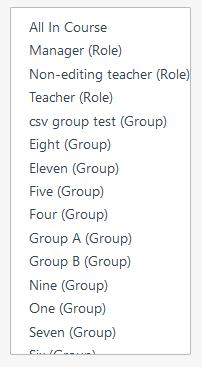
2. Select a group or individual
3. Click Add

4. Add a subject

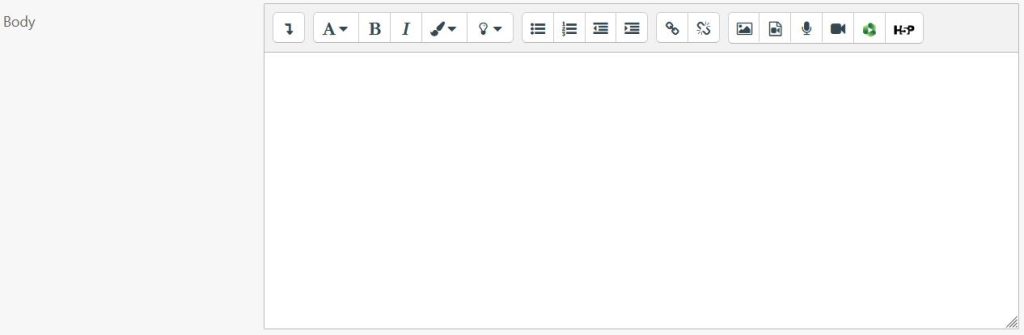
5. Write the body of the email
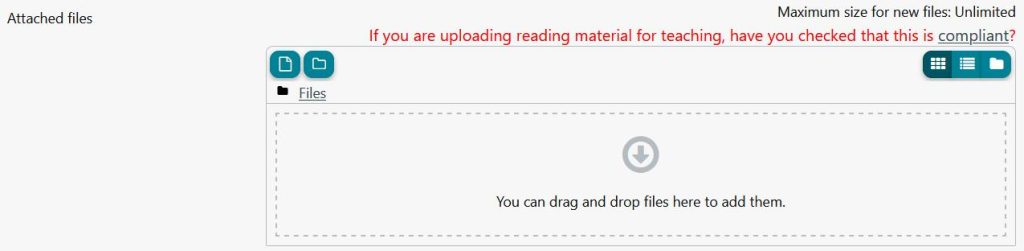
6. Attach files if required
7. Add your signature

8. Select Email or Moodle message

9. Select the date or leave blank when you want the email to be sent

10. Receive a send report – Send a confirmation email to the message sender when the message has been sent by default. This setting is overridable by course configuration.

Click Send email.
View Drafts
- Any drafts that have been saved will be shown here

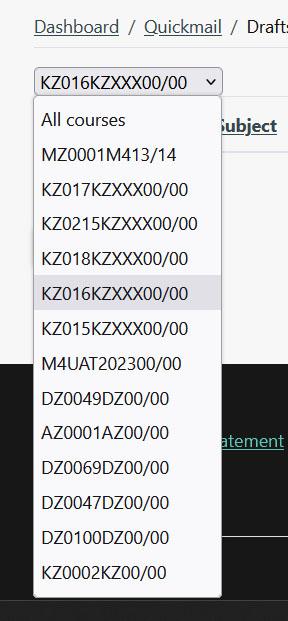
2. Use the filter to view drafts from other courses – you will need to know the Course ID
View Scheduled
- Any scheduled emails will be shown here
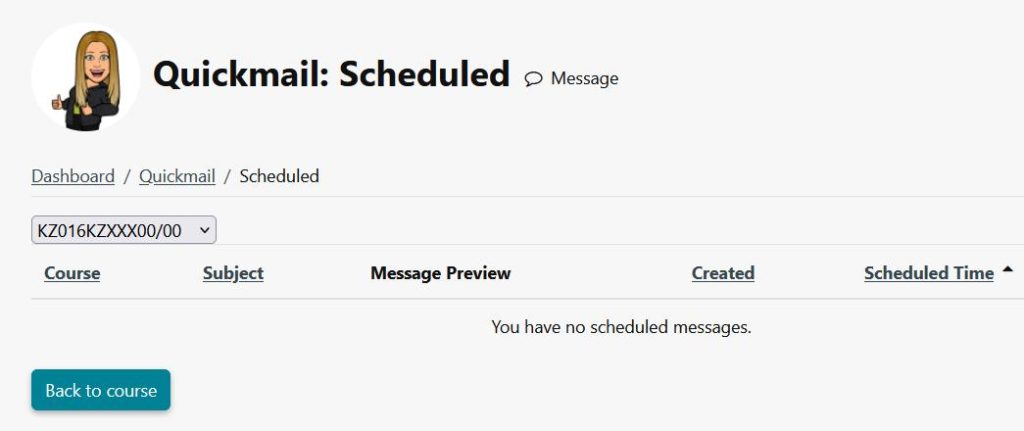
2. Use the filter to view scheduled emails from other courses
View Sent Messages
- Any sent messages will be shown here
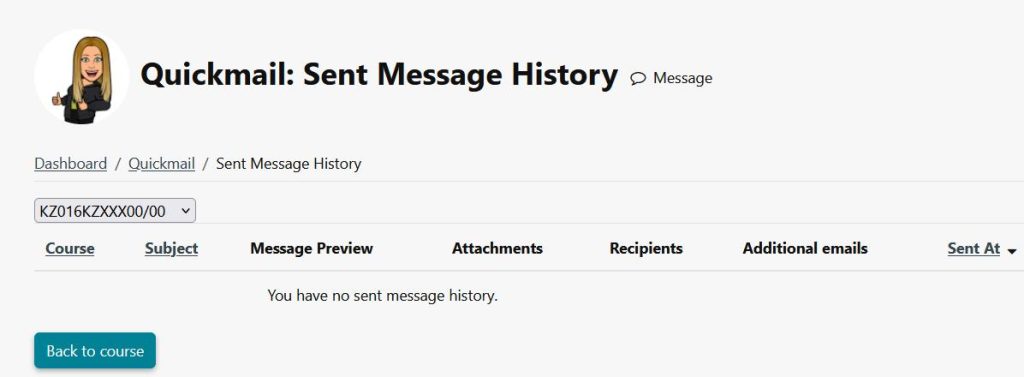
2. Use the filter to view sent messages from other courses
My Signatures
- Select Signature To Edit or create a new one

2. Give your signature a title – this will appear in the dropdown

3. Create your signature – this will appear at the bottom of your email
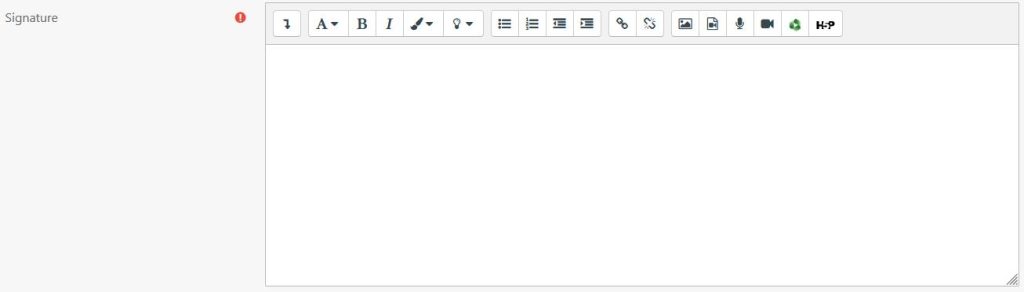
4. Select default if this is the signature that you want to appear on all your emails

5. Click save
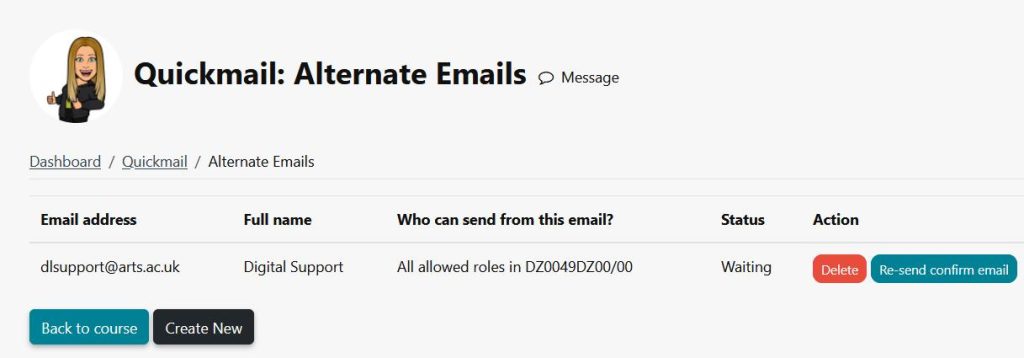
Alternate Emails
- Add an alternate email by clicking on the Create New button
Configuration
- Allow students to use Quickmail
- Selectable roles – These roles will be available for selection when composing a message.
- Prepend Course name – Prepend course identifying information to the subject of the message.
- Receive a send report – Send a confirmation email to the message sender when the message has been sent. This setting will be the default preference for the sender.
- Preferred message sending method – This setting will be the default sending method for anyone composing a message in this course. The sender will be able to override when composing the message.
- My Preferred Recipient Picker Style – Your personally preferred interface for selecting recipients when composing a message.
