The Attendance tool in Moodle allows registration of attendance for a specific Moodle course. Course sessions can be set up in advance on Moodle, with options for students to register their own attendance.
Adding Attendance activity
To add an Attendance activity to Moodle:
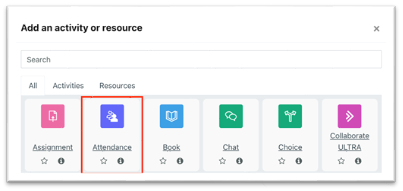
- Click Add activity or resource
- Select Attendance
- Enter a name
- Add any optional settings, such as groups or competencies.
- Click Save and display

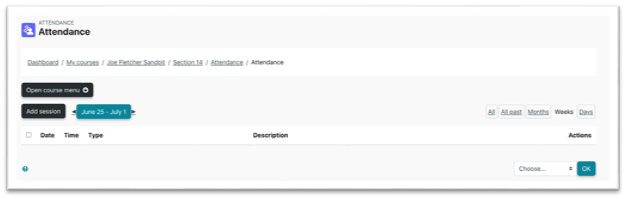
In the Attendance tool window click Add sessions to get started.
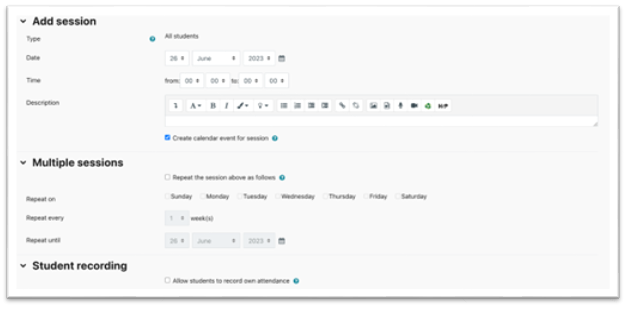
- Set date, time, include optional description
- Choose whether session appears on Moodle course calendar
- Use the Multiple sessions menu to set the recurrence of sessions
- Under Student recording choose whether to allow students to register their own attendance at a session. If selected, additional settings can be configured such as password protection for registration.
- Click Add to finish setting up your session
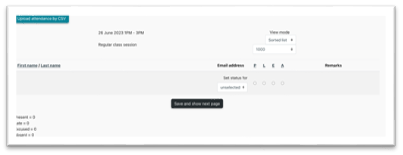
To begin marking a session’s attendance, select Take attendance

Mark attendance using pre-defined categories against each student within the session.
- If the session is set to allow students to mark their own attendance, this will also display students who have self-registered.
Click Save and show next page to continue
Student self-registration
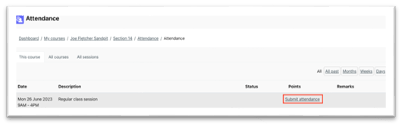
Students can record their own attendance using the Attendance tool link in their Moodle course.
Any session available to self-register attendance will appear in the students list of sessions. Students can click Submit attendance, choose their status (Present, Late), then Save changes. This will update their attendance at the session.
Adding sessions in bulk
Sessions can be added in bulk using a csv file upload. The csv file will need to contain the following headers:
- groups: course group names (if applicable), separated by semicolon
- sessiondate: DD-MM-YYYY
- from: time in hh:mm
- to: time in hh:mm
- description: text outline of session
- repeaton: day of the week, three letters (Mon, Tue)
- repeatevery: numerical value for how many weeks
- repeatuntil: date for ending sessions (DD-MM-YYYY)
To upload your csv file:
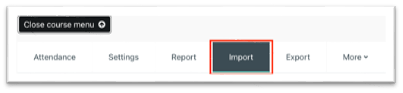
- Open Attendance tool
- Click Open course menu
- Select Import
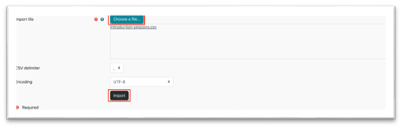
- Click Choose file, use the file picker to upload your file
- Click Import
A new page will open allowing column headers to be aligned to the correct information. This should be pre-populated if the headers above have been used. Additional settings such as student self-reporting can be enabled here.
Click Confirm to continue
Reports
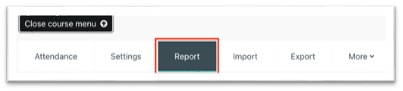
- Open Attendance tool
- Click Open course menu
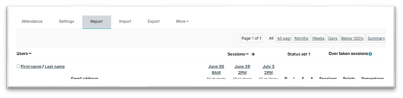
- Select Report
This will display a table of all students, plus their attendance registered across all sessions. Click a student’s name for an individualised profile of attendance. Reports can also be filtered to display a specific date, those below 100%, and a summary view.
Attendance data can also be exported:
- Click Open course menu
- Select Export
- Choose a Group or to Export specific users
- Set which sessions to include and the date period
- Choose a Download format
- Click OK