How to create a group in Workflow
1. Login to Workflow with your UAL credentials
2. Click on the Burger icon > Engage > Groups

3. Click on Create group button
4. Fill in the form by setting up a group and click on save group button
Note: you can always change the group settings in case you need it later on.
How to add members to a group in Workflow
1. Burger icon > Engage > My groups > [Name of the group] > Members
2. Adding or removing administrators from a group click on Manage button next to a group on the Administer group’s page.
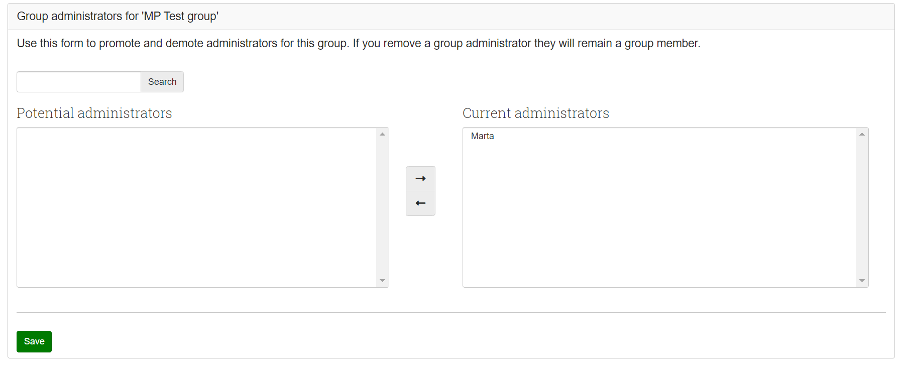
3. Use Search if you have too many users on your site and you cannot see the users you want, you can search for them here.
4. Potential administrators: Select the users you wish to make group administrators. You can select multiple users at once using Ctrl and Shift click.
5. Add the potential group administrators to the right-hand side – Current administrators – by clicking the right-arrow button.
6. Current administrators: If you want to remove an existing or accidentally added group administrator, you can remove the user from the list on the right-hand side by clicking on the user. Then click the left-arrow button, and the user is removed from the list.
7. When you have chosen all members you wish to make group administrators, click the Save button.
How to view and manage group as administrator in Workflow
1. Click the Edit this page button if you want to make changes to the group homepage.
2. Click the Settings button if you want to make changes to the group settings.
3. Click the Copy button to duplicate the group. The group’s files, journals, pages, collections and group settings are copied. Group membership and forums are not copied.
How to set up a submission area in Workflow
1. To enable students to submit a page in Workflow create a group in Workflow using above steps.
2. Once this has been set up students will be able to submit a page or collection to the created group. When the page/collection is submitted to a group it becomes locked (it is not possible to edit the submission) until tutor release it back to the student. To check the submissions go to Burger icon (top-right) Share and select Submissions.

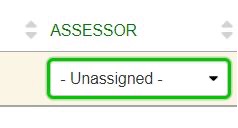
3. Once the submission is submitted under the Assessor you can assign Markers, however, Marker would need to be firstly added to the group, so they can appear in the drop-down.
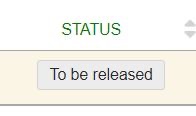
4. Once the submission is marked choose pass, fail, or under review (if the marking is still in the process) status.
5. Once the mark is given release submission back to the student.