The folder allows a teacher to display several course files together. The files may be of different types and they may be uploaded in one go, as a zipped folder which is then unzipped, or they may be added one at a time to an empty folder on the course page.
Setting up Folder resource:
1. To drag and drop a folder, first zip (compress) it and then with the editing turned on in a course, click and hold the zipped folder, drag it to your chosen section and release.
2. From the screen that appears next, make sure that the button Unzip files and create folder is selected, and click Upload.
3. Alternatively, with the editing turned on in a course, choose ‘Folder from the activity chooser.
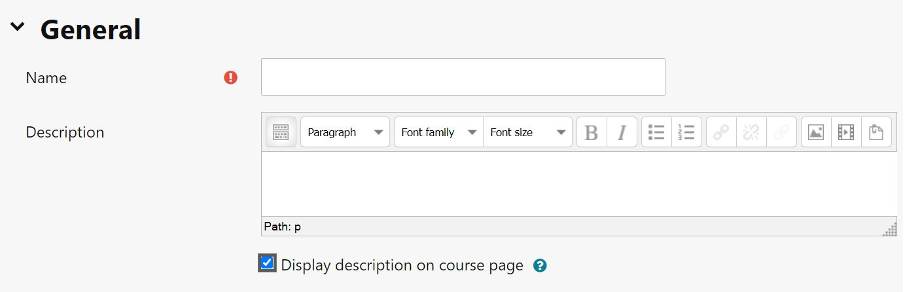
4. Give it a name and, if required, a description, checking the box if you want the description displayed on the course page.
5. In Content, upload the files you want to display in the folder.
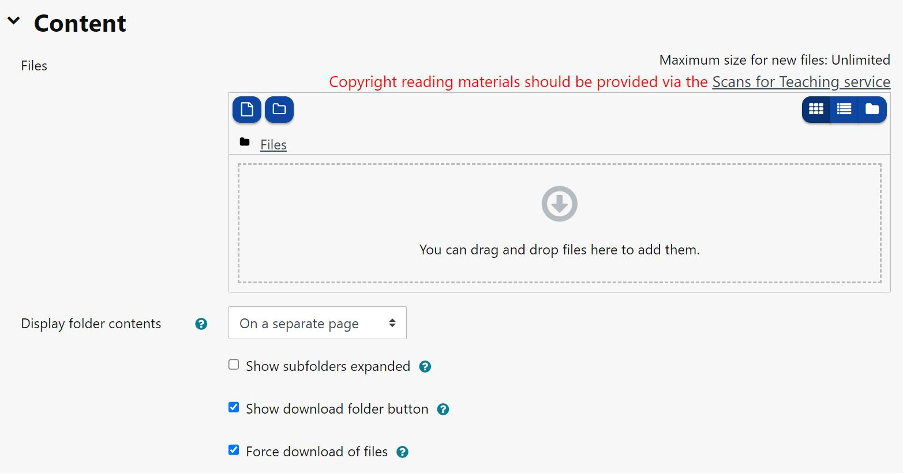
6. Decide how you want the folder contents to display, and whether you want to include a Download button, if so students may download the files as a zipped folder for viewing offline.
7. Save the folder.
