About Moodle and Panopto
To connect a Moodle course to Panopto the course needs to be provisioned. Provisioning creates a corresponding folder on Panopto where enrolled users can access video content. By default, students are assigned as ‘Viewers’ (can view videos only) and staff ‘Creators’ (view, create and upload videos to the course folder).
Provisioning courses makes it easy to embed and share video content from Panopto. Each Moodle course only needs provisioning once by any user with editing rights, usually any member of staff enrolled on the course.
To provision a Moodle course
1. Open the Moodle course page you’d like to connect with Panopto
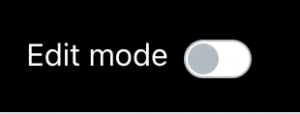
2. Switch on Edit mode
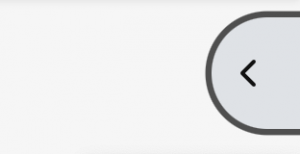
3. Open the block drawer
4. Click Add block

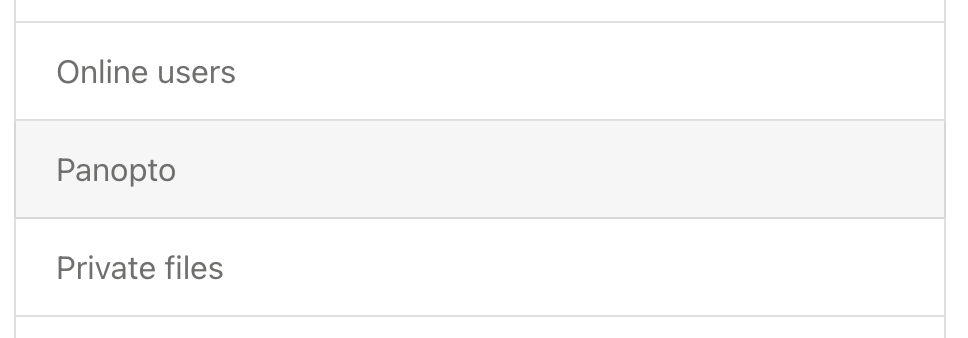
5. Select the Panopto block
Note: if the block isn’t in the list, this means it has already been added to the block drawer. Scroll through the block drawer to find the block.
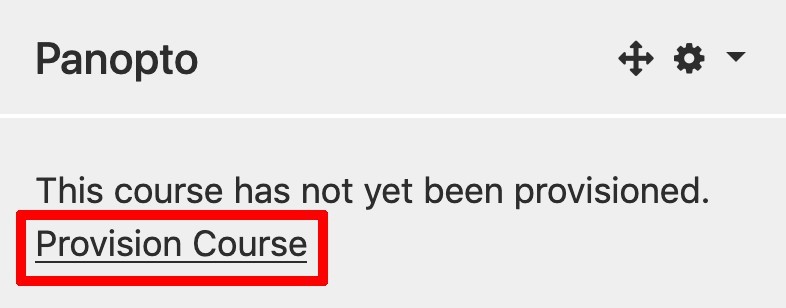
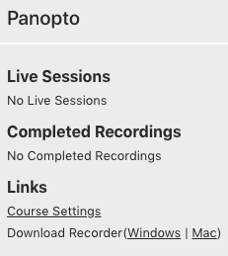
6. Find the new Panopto block in the block drawer, then click the Provision Course link
7. You will be redirected to a page confirming the Moodle course has been successfully provisioned
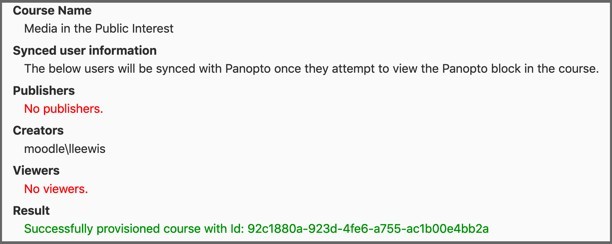
8. The Panopto block is enabled and provisioning is now complete. The Panopto block will now display a list of recordings or uploaded video files held within the course folder on Panopto.
Accessing Panopto
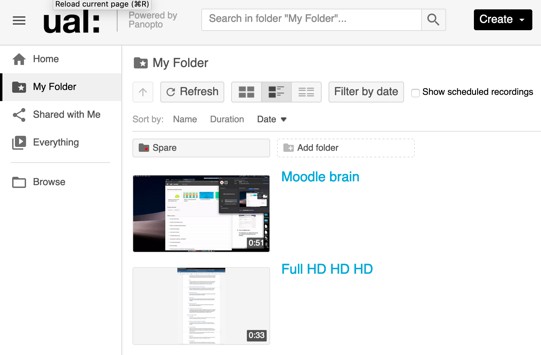
Panopto can be accessed through https://panopto.arts.ac.uk/
Note
Each Moodle course only needs provisioning once by one user
If you see a Panopto block (as shown in Step 10) in your Moodle course, Panopto has already been provisioned
Once provisioned, users enrolled on the same course will have access to related Panopto content after logging into Moodle or, if already logged in, visiting the Moodle course home page where the Panopto block is located
You will be able to access all of your videos from any of your Moodle sites that have been provisioned. No additional steps are required.