MyBlog: Password protecting a post

Passwords can be added to blog posts to control access to the post content. Follow this guide to learn how to add a password to a post

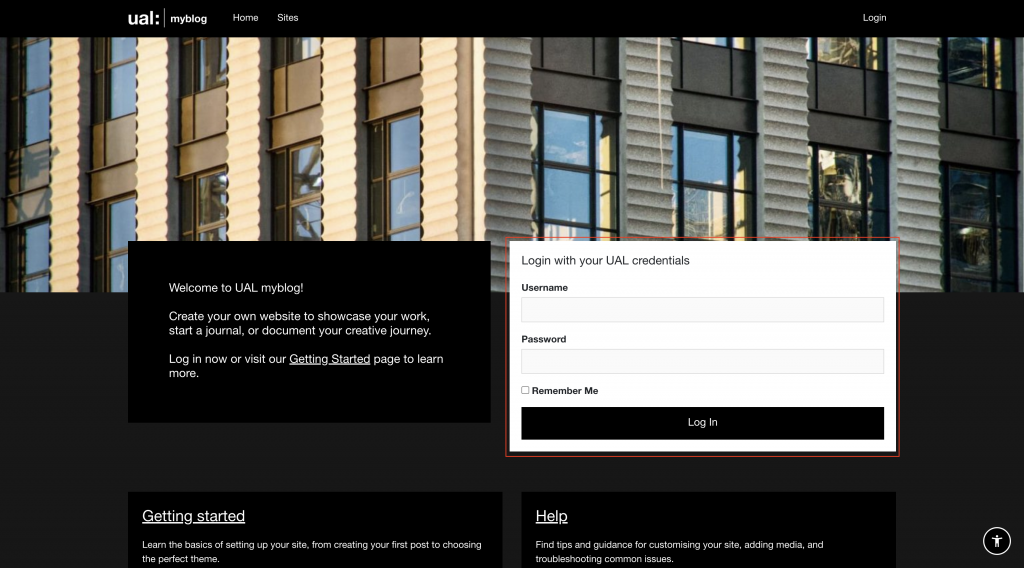
Open the MyBlog homepage and log in with your UAL username and password

The MyBlog login page with the username and password fields highlighted
The login fields on the MyBlog homepage

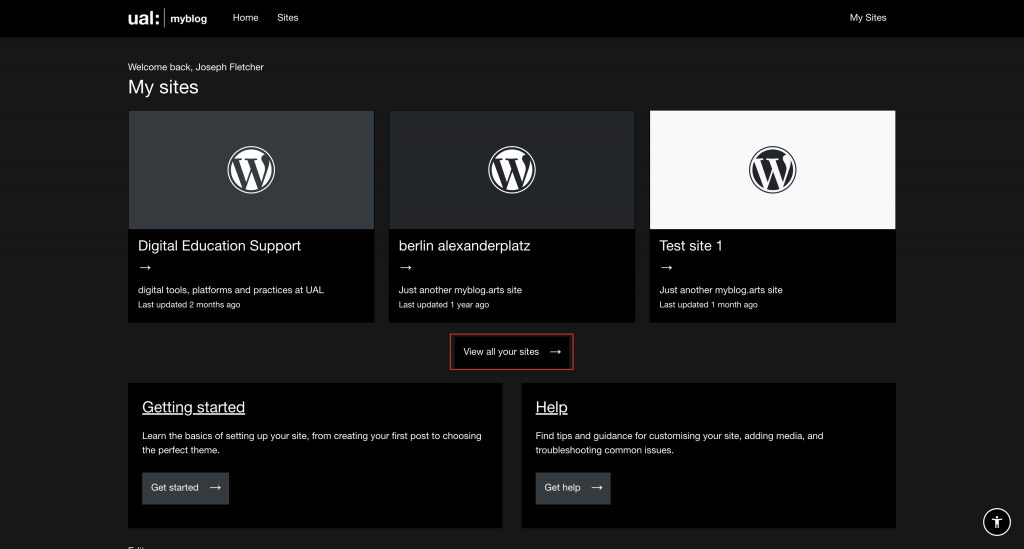
Select your blog from the list of available sites (click View all your sites if your site isn’t listed in the visible cards)

The My Sites page on MyBlog, showing a list of all a user's registered sites.
The My sites page on MyBlog, showing a list of all a user’s registered sites.

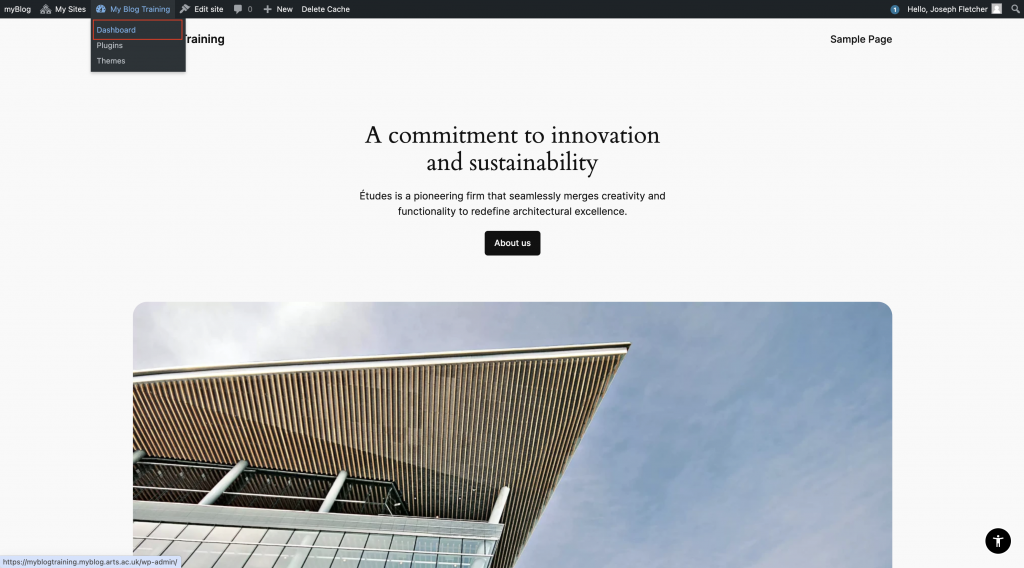
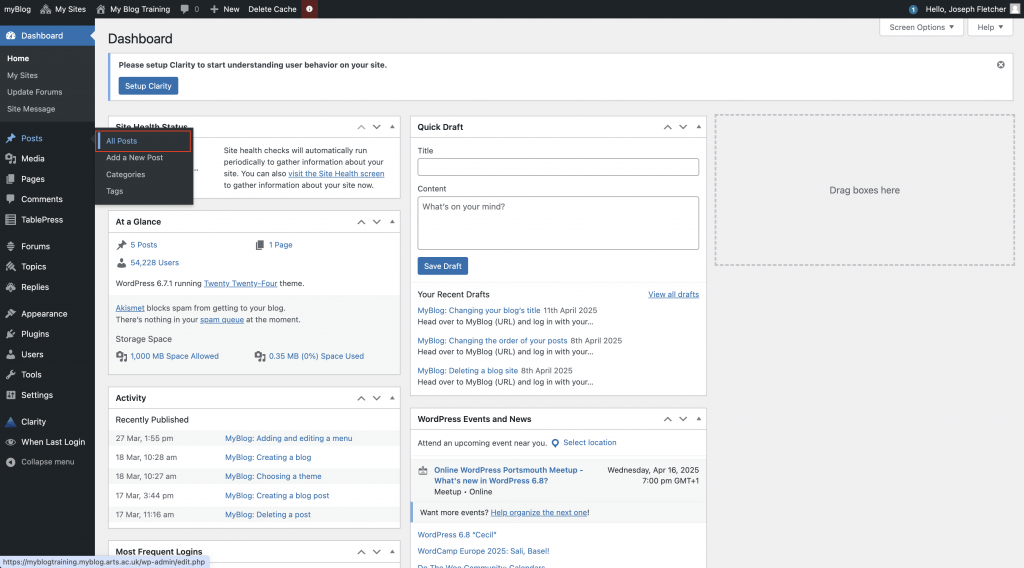
Open the Dashboard of your site using the menu bar. (Site name > Dashboard)

A MyBlog page with the menu bar visible and the dashboard link highlighted
The Dashboard link in the MyBlog menu bar

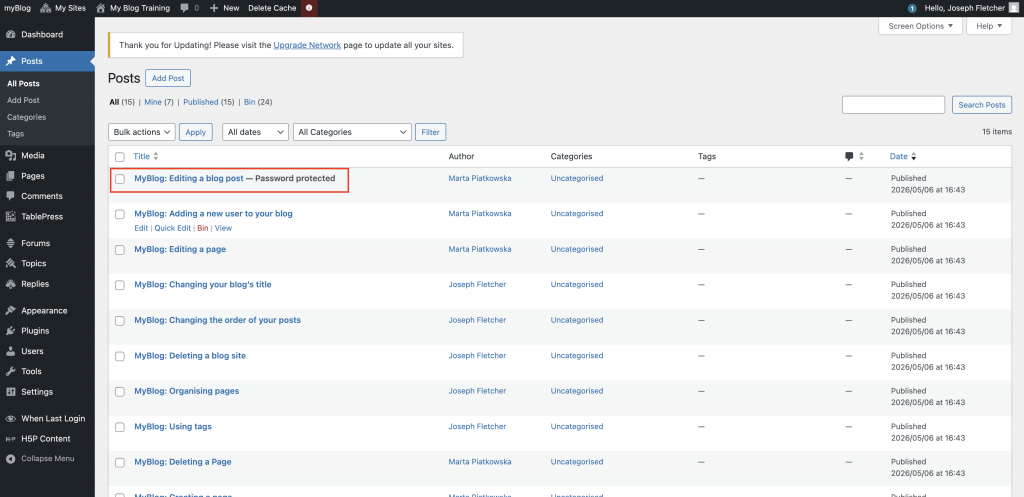
Click Posts > All posts

The MyBlog Dashboard page with the All Posts menu item highlighted
The All Posts menu item in the MyBlog Dashboard page

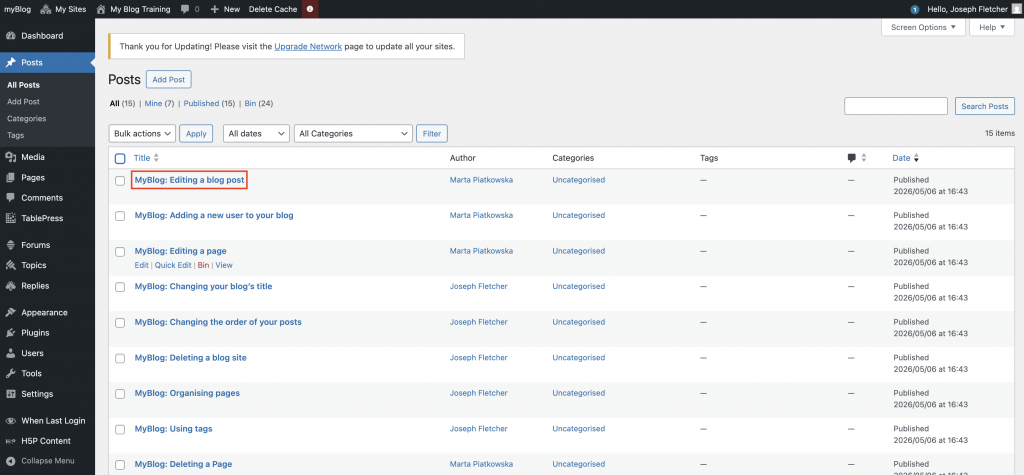
Click on the title of the post you’d like to add a password to

A post title in the posts table

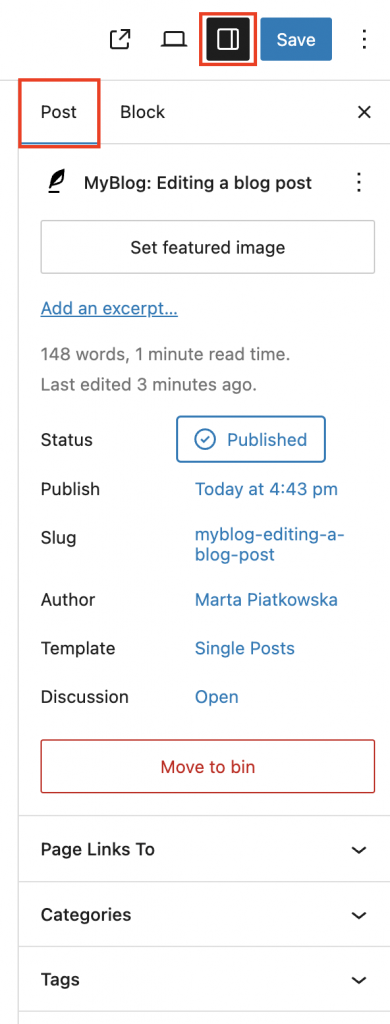
Locate the settings panel on the right-hand side and click the Post tab. If it isn’t open click the Settings button.

The Settings panel in the WordPress editor

Click Published, then check the Password protected box. Enter a password for your post in the Password field.

The Password protected field in the WordPress editor

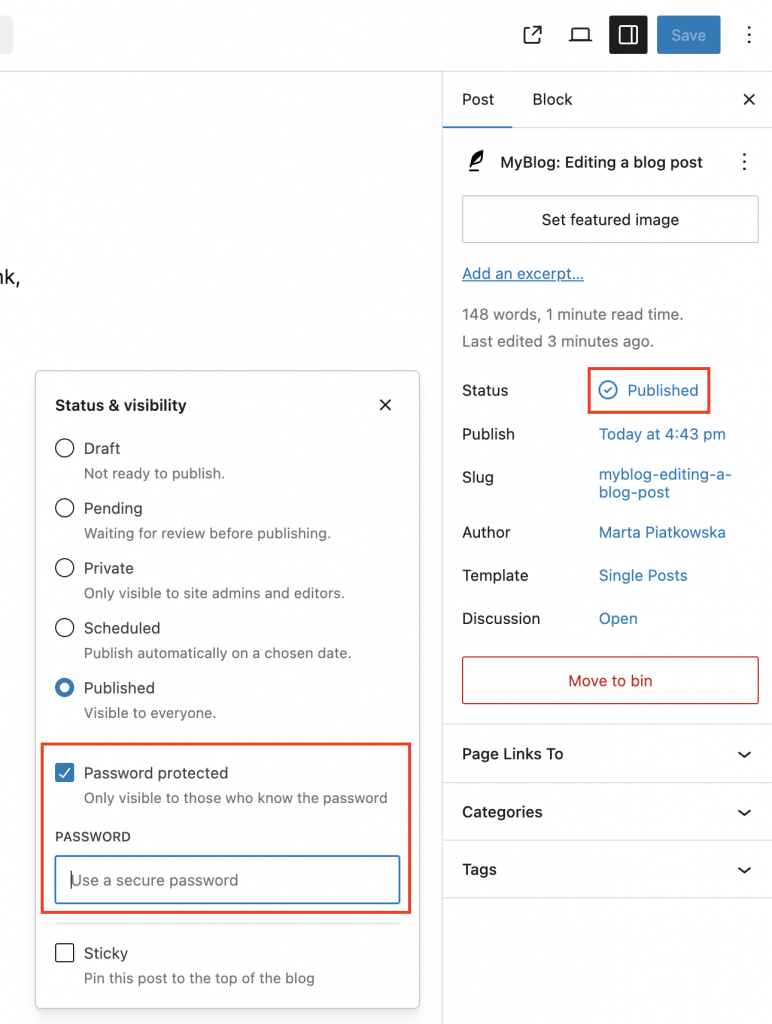
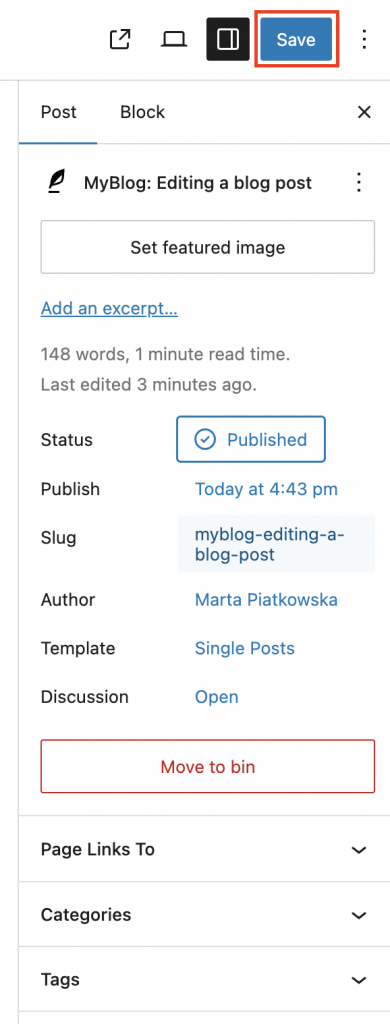
Click the Save button to update your post

The Save button in the WordPress editor

The post will now show in your posts table as password protected

The posts table showing a password protected post

Back to top