Collaborate recordings
Setting up Collaborate session
1. Go to the course and turn the Edit mode

2. Click on Add activity or resource

3. Click on Collaborate
4. Set up:
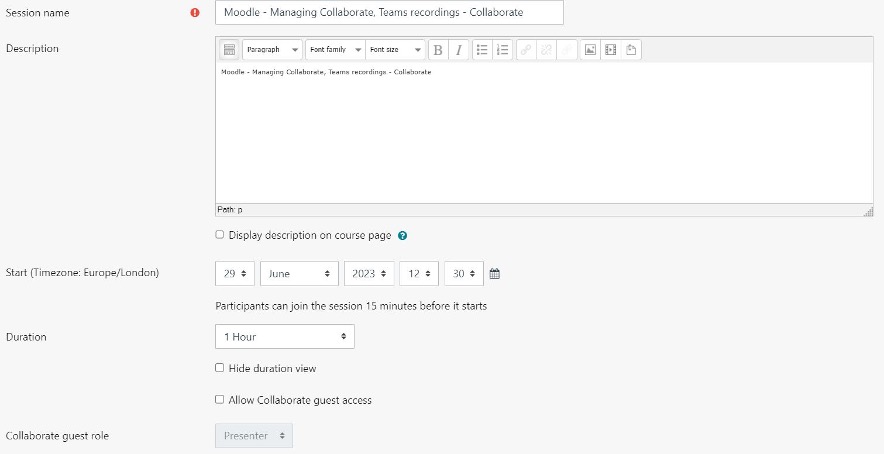
a. General settings: such as Session name, Description, Start (Timezone: Europe/London), Duration, and Collaborate guest role.
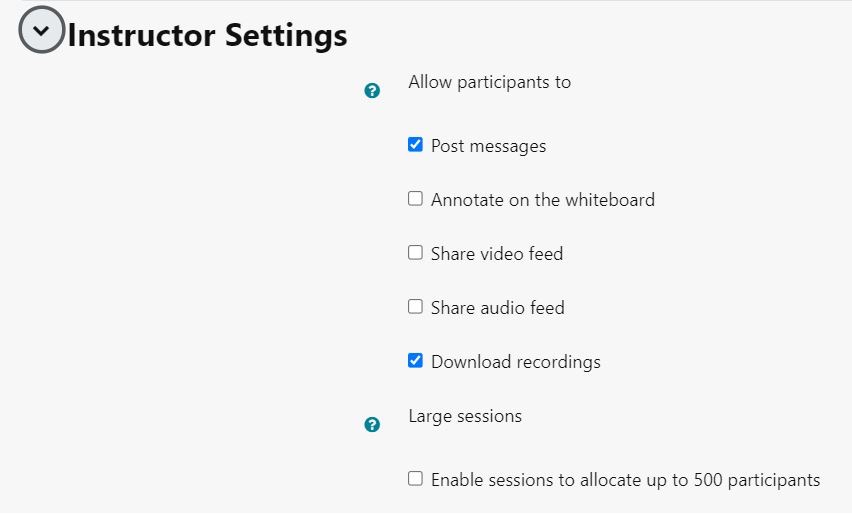
b. Instructor settings
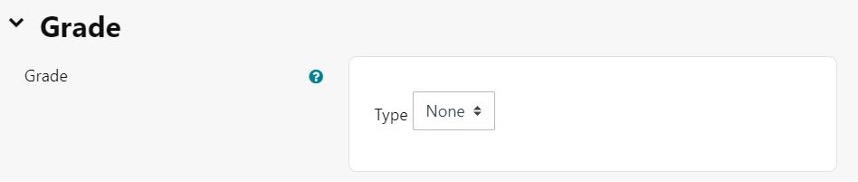
c. Grade
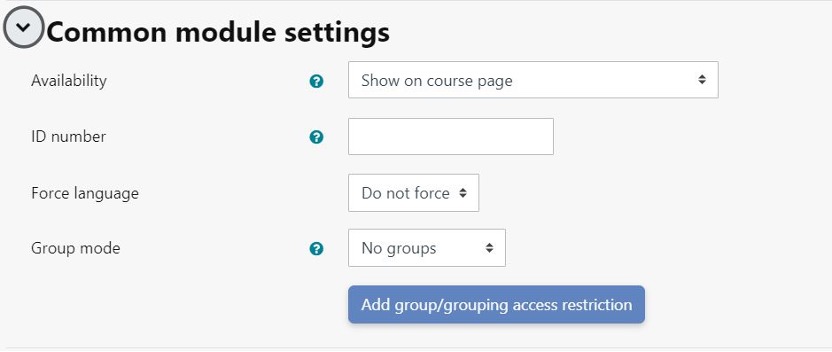
d. Common module settings
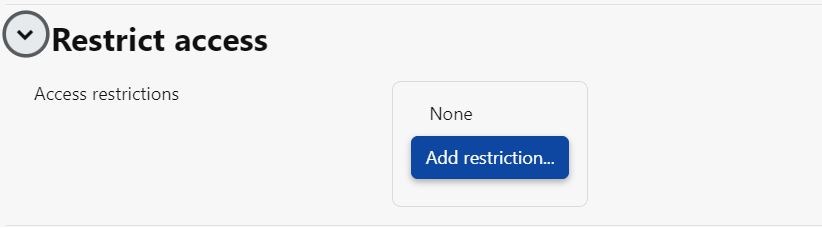
e. Restrict access
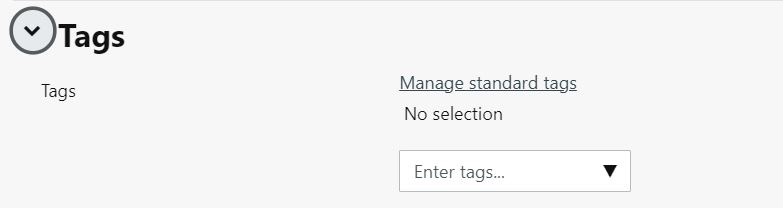
f. Tags
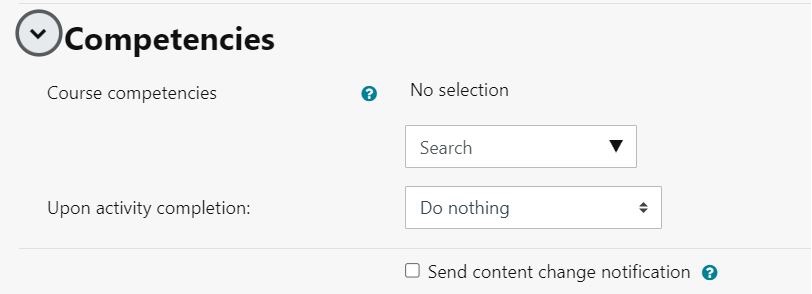
g. Competencies
5. Click on Save and display to save your choices

6. Make sure you enrol tutors to the course so they can access the joining link

Managing collaborate recordings
Recordings are limited to 8 hours.
You can have multiple recordings during one session. If you decide to continue recording a session after you have stopped, a new recording is saved and added to the list of recordings for that session.
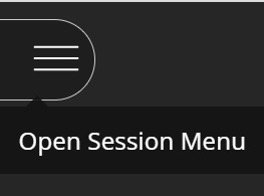
1. Open the Session menu
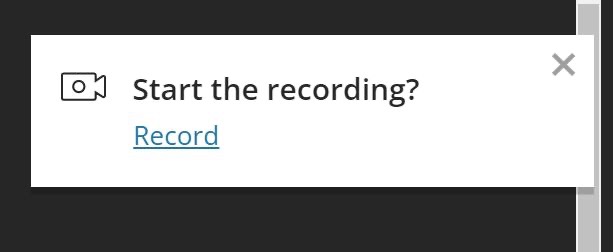
2. Select Start Recording. The recording camera appears on with a red dot while recording is in progress.
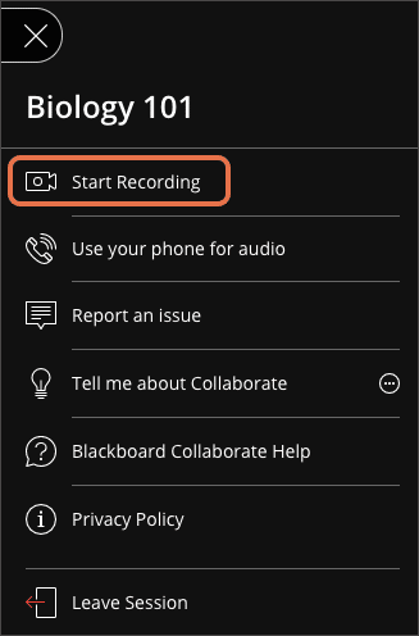
3. Collaborate uses a notification to remind you to start the recording. The reminder is visible until you start the recording or close the reminder.
4. Session engagement Insights will be displayed at the bottom of the page

5. To finish recording, open the Session menu and select Stop Recording.

6. To leave the session go to the Session Menu and select Leave Session

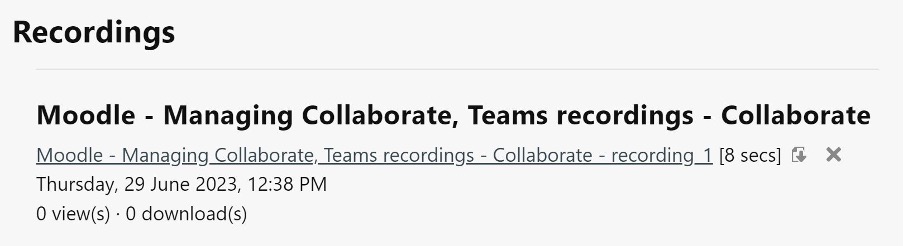
7. After the session is finished the recording will be displayed below the joining link
Teams recordings
Start recording
1. Join the teams meeting

2. Go to the meeting controls
3. Select More actions
4. Record and transcribe

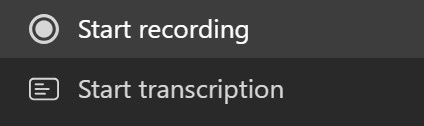
5. Start recording and start transcription.
Note: Everyone in the meeting gets notified that recording and transcription have started
Stop recording
1. Go to the meeting controls and select More actions More options button.

2. Choose one of the following:
a.Stop recording: Stops the recording and live transcription.

b. Stop transcription: Stops just the live transcription. The recording continues until you select Stop recording.

Find recordings
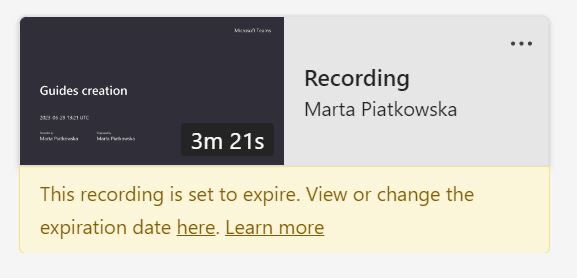
The meeting recording shows up in the meeting chat or channel conversation (if you’re meeting in a channel).
Note: For now, guests and external attendees can view the recording only if it’s explicitly shared with them.