Explore quick methods to improve accessibility in your Moodle courses. You can either scroll through the tips or select from the list below to jump to that section.
Write clear and consistent section titles
Page and section titles are essential for navigation, especially students using screen readers, or for students with cognitive differences. Clear, descriptive titles help students quickly find information without confusion or needing to memorise what each section is about.
It’s also important to remember that the side drawer menu is very narrow, so long titles often get cut off. To make navigation easier, we recommend starting your titles with the most important information like the unit or week number, followed by the content. This way, even if the full title isn’t visible, students can still identify the section they need.
Avoid vague titles like “Week 1” or “Unit 3.” Instead, we suggest making them specific by adding some context.
For example:
- “Week 1: Introduction to Accessibility”
- “Unit 3: Research Methods”
Whatever structure you choose, consistency will help students know what to expect and makes navigation easier for everyone.
How to update titles and names:
- Turn edit mode on in your Moodle course
- Locate the section or page you want to rename
- Select the pencil icon next to the title
- Update with a concise but contextual title, then select ‘Enter’ to save
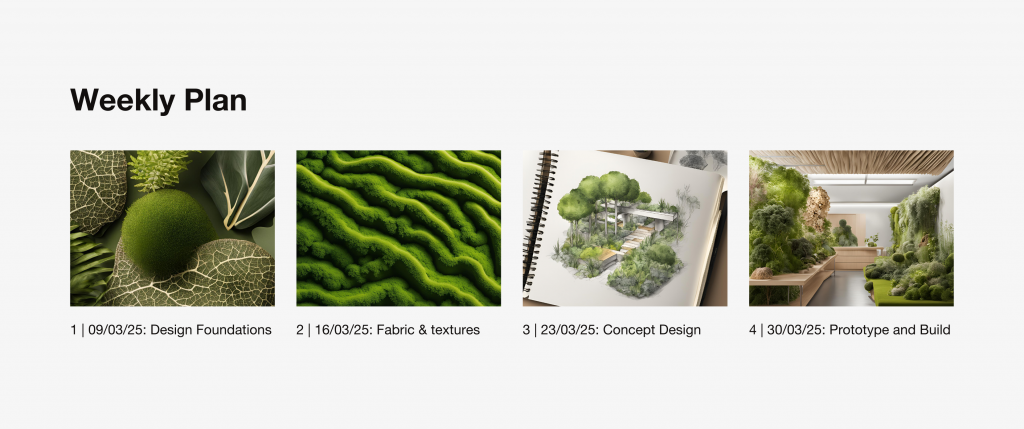
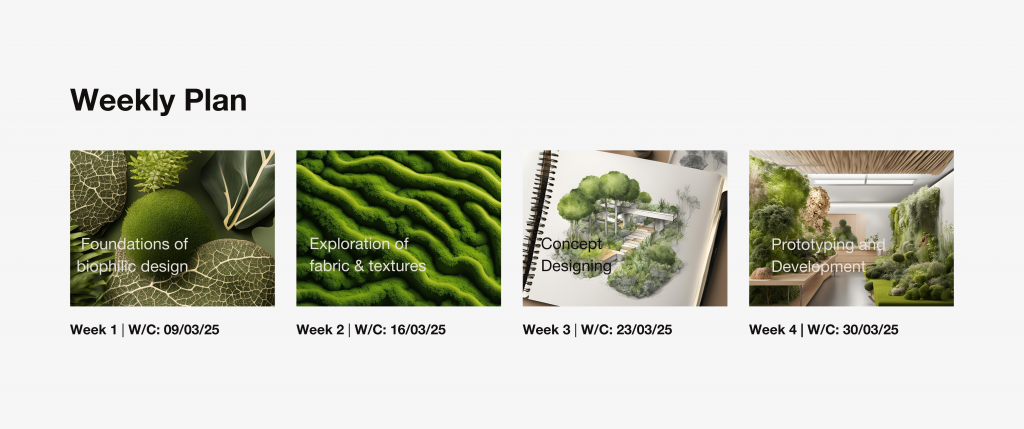
Using titles instead of embedded text in images
Displaying text as a title or an overlay offers more accessibility than embedded text. Screen readers can’t pick up text that’s been flattened in with an image, so those using this type of assistive technology won’t be able to access the information.
Example of text embedded in images (not recommended)
How does this decrease accessibility?
- Barriers to important information. The topic is only available visually and not as text which is a barrier to those who rely on screen readers.
- Not responsive. The text within the images doesn’t scale on mobile devices, making it hard to read on smaller screens.
- Text contrast is low as it has been placed on a busy image, again making it hard to read.
- Reduced adaptiveness. Embedded text can’t be highlighted, copied, searched or adjusted, reducing flexibility for all students.
- Doesn’t meet accessibility guidelines which require important information to be available as real text, not just within images.
To make sure everyone can access your information, we recommend writing important text as titles or as text overlays. If you already have images with embedded text, include the same information as visible text to increase accessibility.
Make links descriptive
Descriptive links make it easier for students to know what to expect. When links say things like ‘click here’ or ‘read more’ this makes it difficult for assistive technology users to identify what the link leads to.
For example; a link to a PDF with assignment guidelines could say:
“Download the assignment guidelines (PDF)” instead of “Download here”
How to create descriptive links
- Highlight the text you want to turn into a link and select the ‘link’ icon
- Under ‘text to display’ type your descriptive link text
- Enter your URL
- When you’re finished, select ‘update link’
Add alt-text to all non-decorative images
Descriptive alt-text help convey meaning for those who use screen-readers or other assistive technology. Alt-text should be brief but descriptive, conveying the essentials.
For decorative images that do not add meaning or value to the course content, mark them as decorative so they are ignored by screen readers. Or think about whether the image should be displayed on the course if they add no value to begin with.
How to include alt-text when uploading images:
- Select the ‘Text and Media’ box from the activity and resources menu.
- Upload an image by selecting the image icon.
- Write your alt-text in the box labelled ‘Describe this image for someone who cannot see it.’
How to add alt-text to existing images:
- Select the three vertical dots on the top right hand side of the section with the image.
- Choose ‘Edit Settings’
- Select the image you wish to write alt-text and then select the image icon from the pop up menu that appears.
- Write your alt-text in the box labelled ‘Describe this image for someone who cannot see it.’
Double check the accessibility of documents using Blackboard Ally
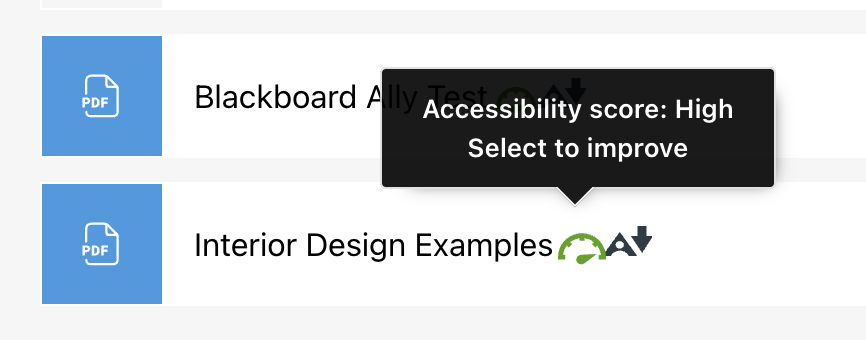
When content is uploaded into Moodle, it is automatically graded for accessibility by the integrated Ally system. It operates on a ‘percentage score’ system with a clear indication of how accessible content is, along with guidance on how to fix issues.
Double-check Ally scores to fix any accessibility issues that have been missed.
How to check accessibility using Blackboard Ally:
- Select the Blackboard Ally icon (pictured above)
- From the window that pops up, select ‘All issues’ to find out what the accessibility issues are.
- For each issue, you will be told what it is and how to fix it. Follow the steps to improve the accessibility score.
Further Learning
- Explore ways to review the accessibility of your Moodle pages (LCC Teaching Hub)
- Learn more about accessibility features on Moodle (Moodle webpage)